Top assembly

Assembly time: 1h
Required kit elements:
- PrusaBox-2 top
- M4 screws and M4 nuts
- M3 screws and M3 nuts
- 1 cross-beam
Printed parts:
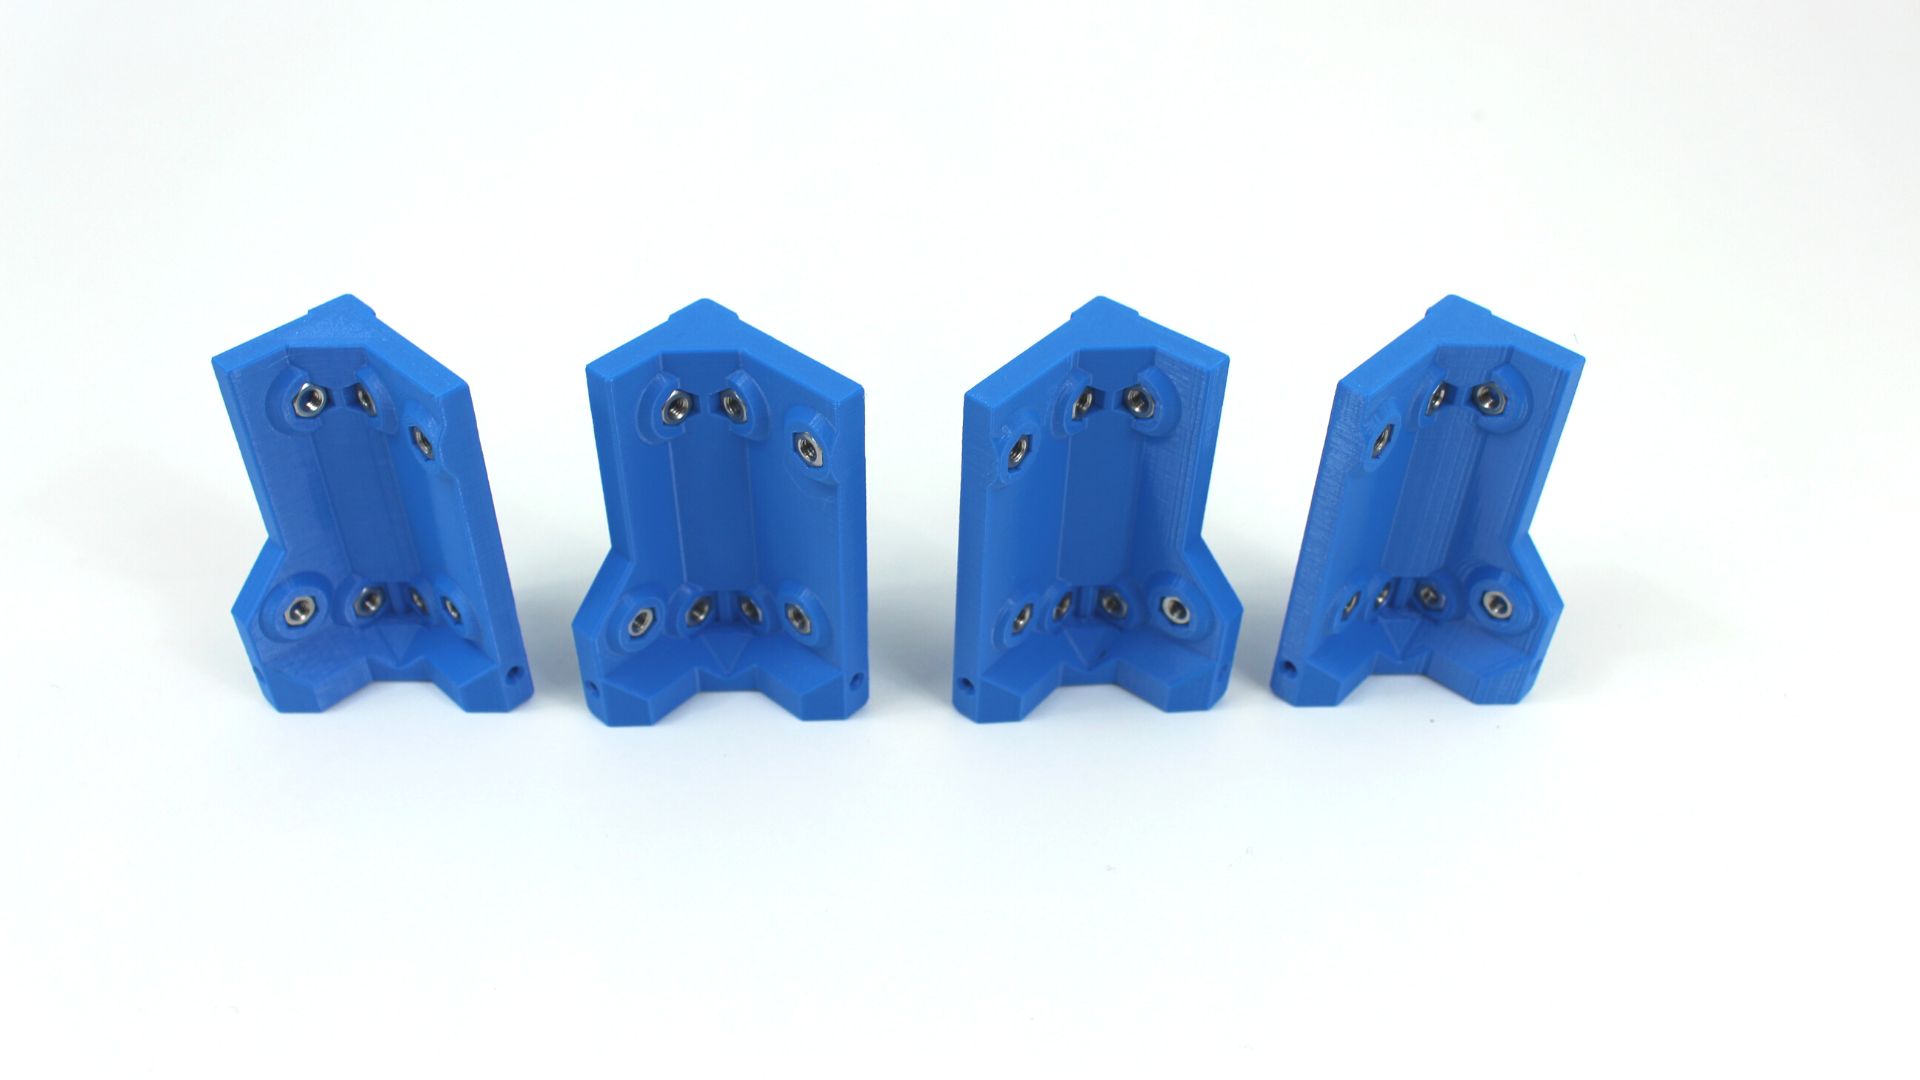
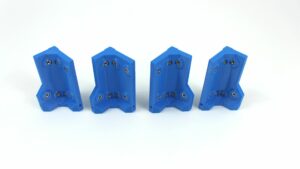
- Corners
- Logo
Step 1 Preliminary information
")
In this chapter, we will assemble main parts of the enclosure’s top.
Step 2 Crossbeam on metal top
")
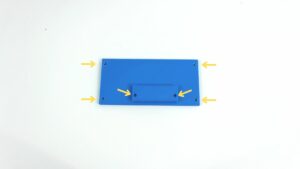
![]() Screw the crossbeam inside the enclosure’s top with M4 screws and nuts.
Screw the crossbeam inside the enclosure’s top with M4 screws and nuts.
![]() Don’t screw these two if you want to add LED light.
Don’t screw these two if you want to add LED light.
Step 3 Top corners


For the 8 corners of the box: we recommend 60% infill with 2 perimeters OR 30% infill with 4 perimeters.
If you are not confident on bed adhesion, we recommend to use brim on vertical parts.
Print plates in “0PB2_Box_corners” folder:
- 0PB2_corners_part_A
Insert M4 nuts in each slot (7) of the four corners
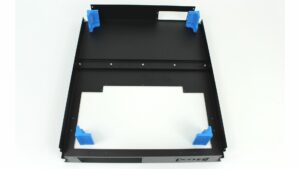
Place correctly the four corners: the side with a little angle are going along the enclosure’s sides.
![]() Slide them from the top
Slide them from the top
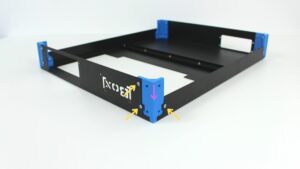
![]() Screw with M4 screws
Screw with M4 screws
Step 4 Logo


STL file in “0PB2_Logo_plate” folder:
- 0PB2_logo_plate
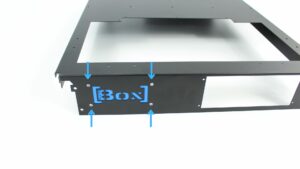
![]() Insert M3 nuts in each slot
Insert M3 nuts in each slot
![]() Screw with M3*6 screws to the metal frame
Screw with M3*6 screws to the metal frame
You have successfully assembled the top!